説明
バグレポート
ハンドルタップ
ユーザーに情報を表示するだけでなく、
ユーザーがアプリを操作できるようにしたいと考えています。
使用GestureDetector応答するウィジェット
タップやドラッグなどの基本的な操作まで。
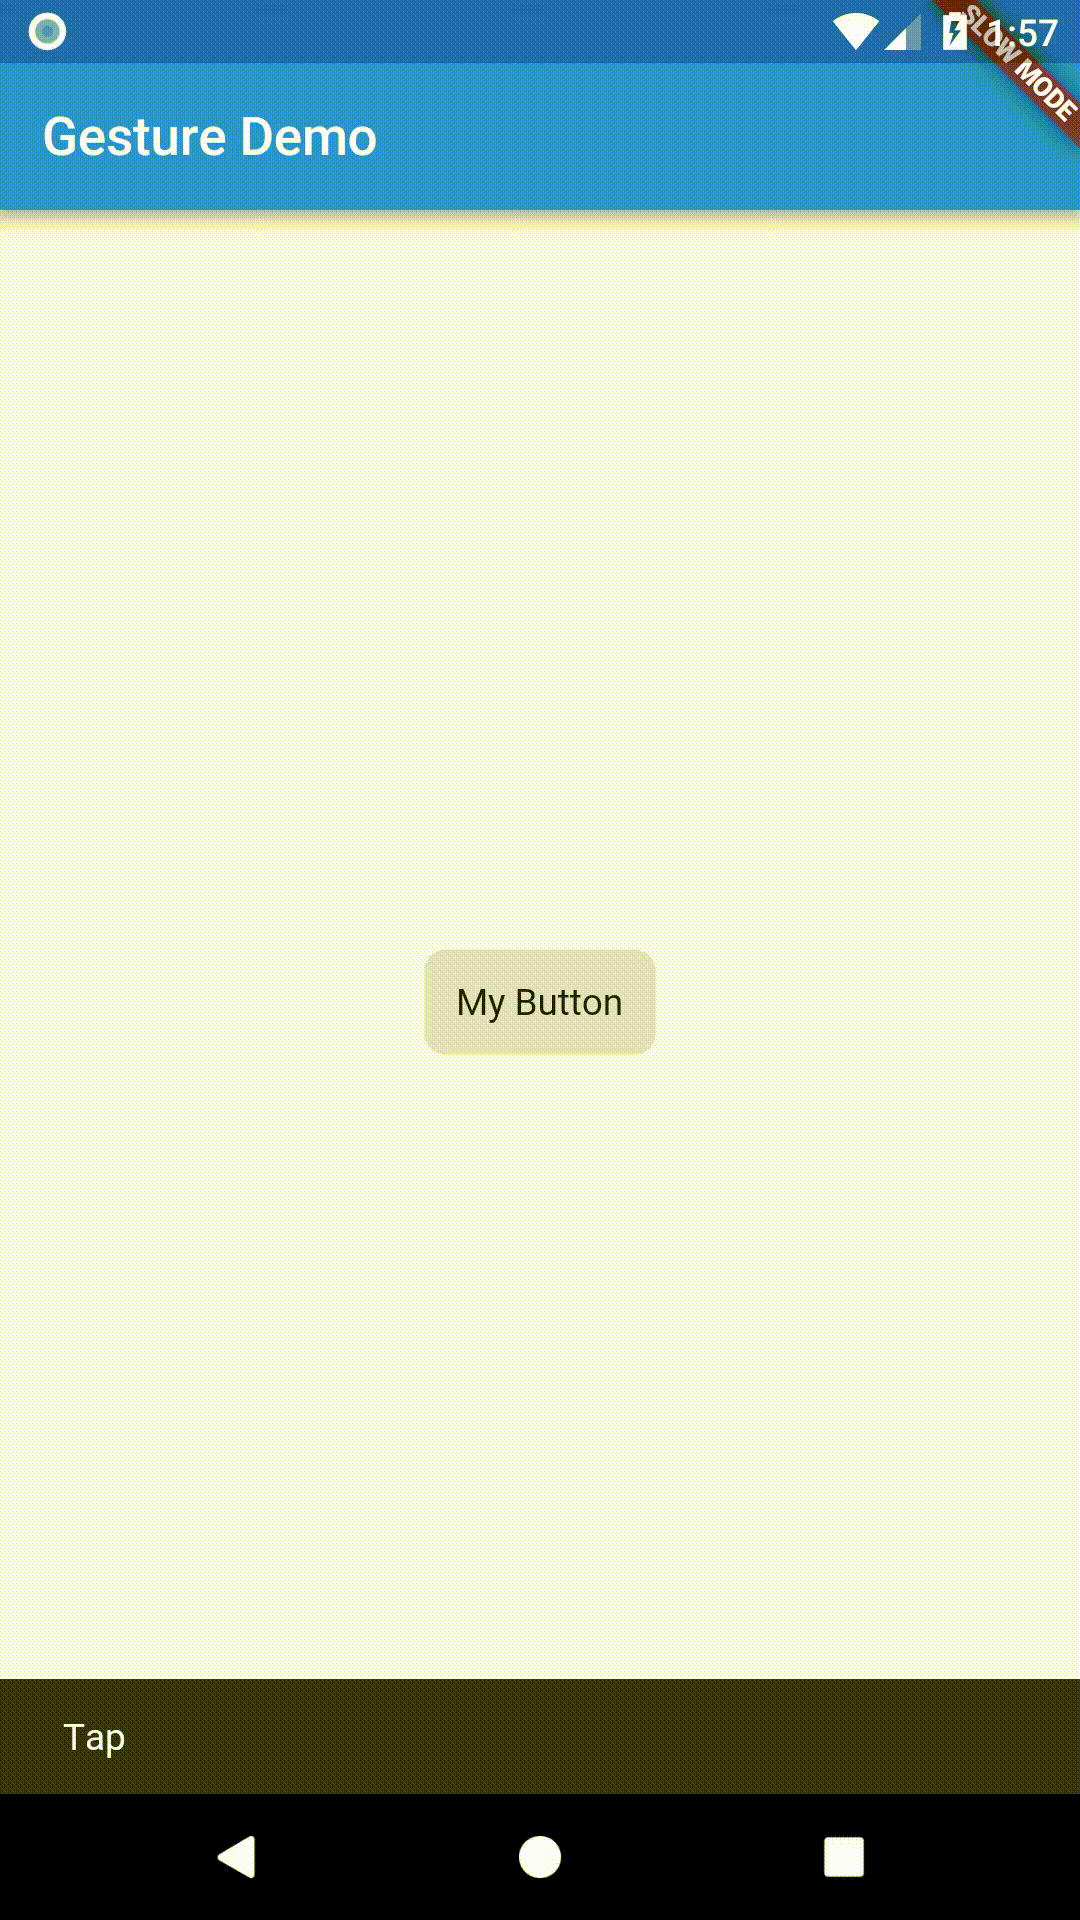
このレシピでは、次のようなカスタム ボタンを作成する方法を示します。 次の手順でタップするとスナックバーが表示されます。
- ボタンを作成します。
- で包みます
GestureDetectorそれはonTap()折り返し電話。
// The GestureDetector wraps the button.
GestureDetector(
  // When the child is tapped, show a snackbar.
  onTap: () {
    const snackBar = SnackBar(content: Text('Tap'));

    ScaffoldMessenger.of(context).showSnackBar(snackBar);
  },
  // The custom button
  child: Container(
    padding: const EdgeInsets.all(12),
    decoration: BoxDecoration(
      color: Colors.lightBlue,
      borderRadius: BorderRadius.circular(8),
    ),
    child: const Text('My Button'),
  ),
)
ノート
- マテリアルの波及効果を追加する方法については、 ボタン、を参照してくださいマテリアルタッチの波紋を追加するレシピ。
- この例ではカスタムボタンを作成していますが、
Flutter には、次のようないくつかのボタン実装が含まれています。
ElevatedButton、TextButton、 とCupertinoButton。
インタラクティブな例
import 'package:flutter/material.dart';

void main() => runApp(const MyApp());

class MyApp extends StatelessWidget {
  const MyApp({super.key});

  @override
  Widget build(BuildContext context) {
    const title = 'Gesture Demo';

    return const MaterialApp(
      title: title,
      home: MyHomePage(title: title),
    );
  }
}

class MyHomePage extends StatelessWidget {
  final String title;

  const MyHomePage({super.key, required this.title});

  @override
  Widget build(BuildContext context) {
    return Scaffold(
      appBar: AppBar(
        title: Text(title),
      ),
      body: const Center(
        child: MyButton(),
      ),
    );
  }
}

class MyButton extends StatelessWidget {
  const MyButton({super.key});

  @override
  Widget build(BuildContext context) {
    // The GestureDetector wraps the button.
    return GestureDetector(
      // When the child is tapped, show a snackbar.
      onTap: () {
        const snackBar = SnackBar(content: Text('Tap'));

        ScaffoldMessenger.of(context).showSnackBar(snackBar);
      },
      // The custom button
      child: Container(
        padding: const EdgeInsets.all(12),
        decoration: BoxDecoration(
          color: Colors.lightBlue,
          borderRadius: BorderRadius.circular(8),
        ),
        child: const Text('My Button'),
      ),
    );
  }
}